Hello! So earlier today I tired my first project on my sewing machine.
Exciting stuff!
Now, I didn’t have any fabric at home so I walked down to Portobello Road and paid a quick visit to The Cloth Shop.
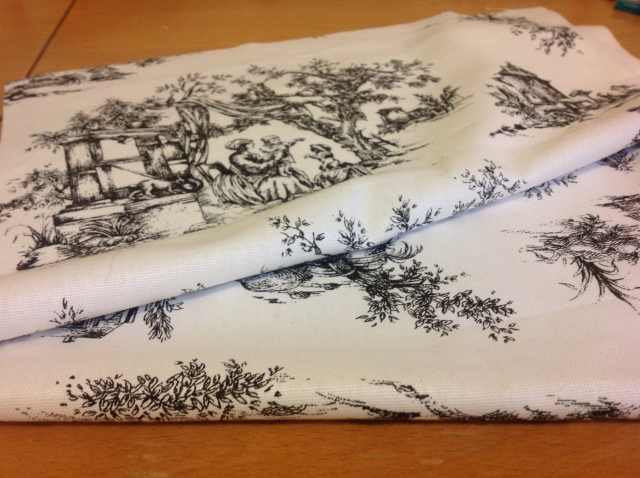
I found this absolutely lovely french country print fabric.
I really like these types of prints, I think they are so sweet. So I made away with about half a meter. I figured I ought to start small for my first project.
After buying thread on the way home I sat down and tried to figure out what I could make. My initial thought was to make a little make up bag but it turns out that, like scissors, zips don’t just turn up in your home on their own, you have to buy them! So I found this really cute step by step guide to making a fabric basket, perfect!
The tutorial I used can be found on The Sometimes Crafter it is really simple and gives a great result.
Now armed with only some fabric, a sewing machine, pink ink pen and some scissors, I set out.
Now, in the tutorial it was recommended that you use something like Timex or batting. I have neither, and quite frankly I do not know what they are. But I don’t mind if my basket is a little floppy.
So, to start it tells you to measure out 15″ x15″ square, my ruler only goes up to 12″ so I winged a lot of it. Some sides did come out a little wonky but once I started sewing it was easy to cover these discrepancies up.
1.
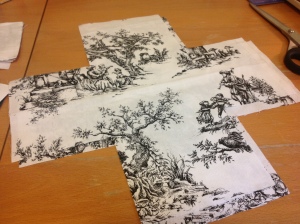
So to begin i folded the fabric in half as I wanted my interior and exterior to be of the same fabric. I measured 15″ the best I could and I cut.
Then I folded both layers in 4 and cut away 4 1/2 ” from one of the corners so that I was left with a fabric cross.
2.
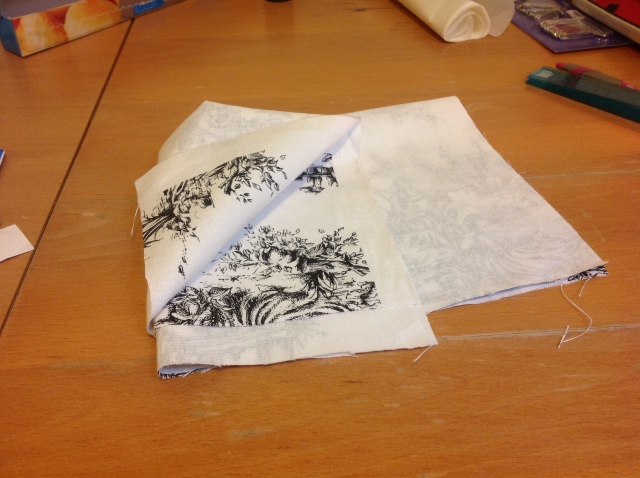
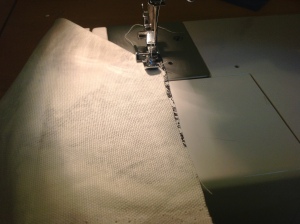
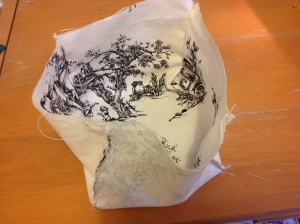
I folded the cross in half, pinned the fabric and started to sew up the edges.
Now, because of my less then stellar measuring and cutting, some of my sides didn’t measure up perfectly, but fear not, it’s ok!
With some tweaking I was able to sew them up no problem, and once you turn it the right way round, nobody will ever know!
Et voila! It should look like the picture below (or maybe neater).
3.
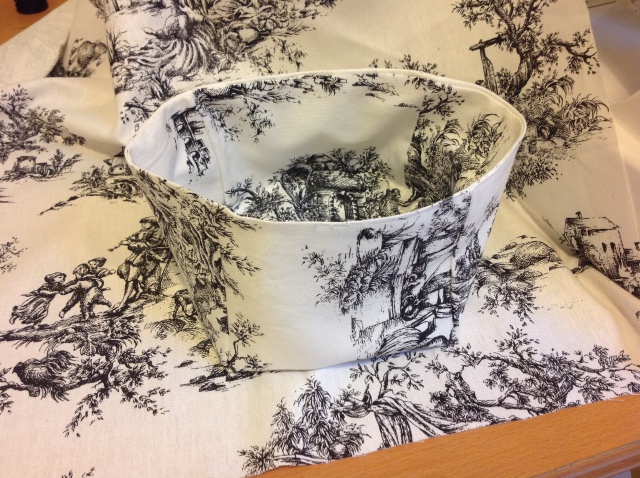
So after I completed both layers I placed the exterior layer inside the interior layer so that the sides with the prints on them are both facing each other – facing in- I think.
Basically, you are going to turn it inside out so that everything is facing the right way after you have finished sewing, so turn it which ever way around that would be right (you’re smart people, figure it out!).
Then I pinned the top edges and sewed them up on three sides.
On the fourth side I only sewed it up half way as we need to turn our work the right way around! So using the opening feed the fabric through so all the patterns are now facing out.
Once you have done this, pin the last little stretch of unsewn edge down. I folded the edges in first so it looks nice and neat.
4.
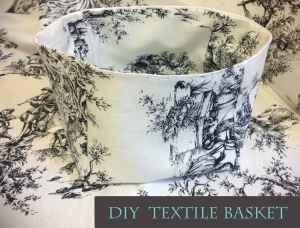
Give it a quick iron and ta dah!
Super easy!
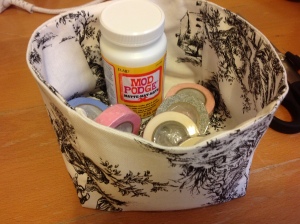
I am definitely going to make more! For now I will store my washi tape and mod podge in it, but I have to organize my other crafting gadgets!
The cool thing is that you can just increase the initial square you cut, so instead of 15″ make it 20″. But still only make the edge 4 1/2″ so that you can have a bigger basket but they are all the same height and they still line up nicely on the shelf!
Till next time!
x


What a good idea. you made it seem so easy to make.
Thank you! I’m glad you enjoyed it! They are super easy to make, and once to get the hang of it, you can make one in like 5 minutes 🙂